Sunday, January 26, 2014

A Discombobulated Sunday

Yes indeed...

As you can read and figure out from the title, this passing Sunday was a fairly discombobulated one. As some of you may know, the Australian Open was on today with the men's singles finals in the grand world of tennis.. So that was definitely a must watch, which took up about half of my day cheering on for the injured Rafael Nadal. Spoiler alert - he lost. Such a bummer  I was really rooting for that poor fella... I very much disliked Stan Wawrinka and his distasteful actions towards the umpire during the game. Phew... Anyway, this blog ain't about tennis so I'll just be done with that topic from now on, don't worry. The next tournament is in a few months so no more tennis talk until then.
 I did however utilize the rest of my Sunday staring at a empty 'canvas' on the computer screen after sort of finishing my Totem Pole exercise, which was pretty awesome indeed until I decided to do another of my old favorites on the real life paper which is the robot man that has featured in one of my previous canvases, if you remember the metallic one a few months ago or if you don't then feel free to go check it out I do think it is in one of the first posts I have done. 

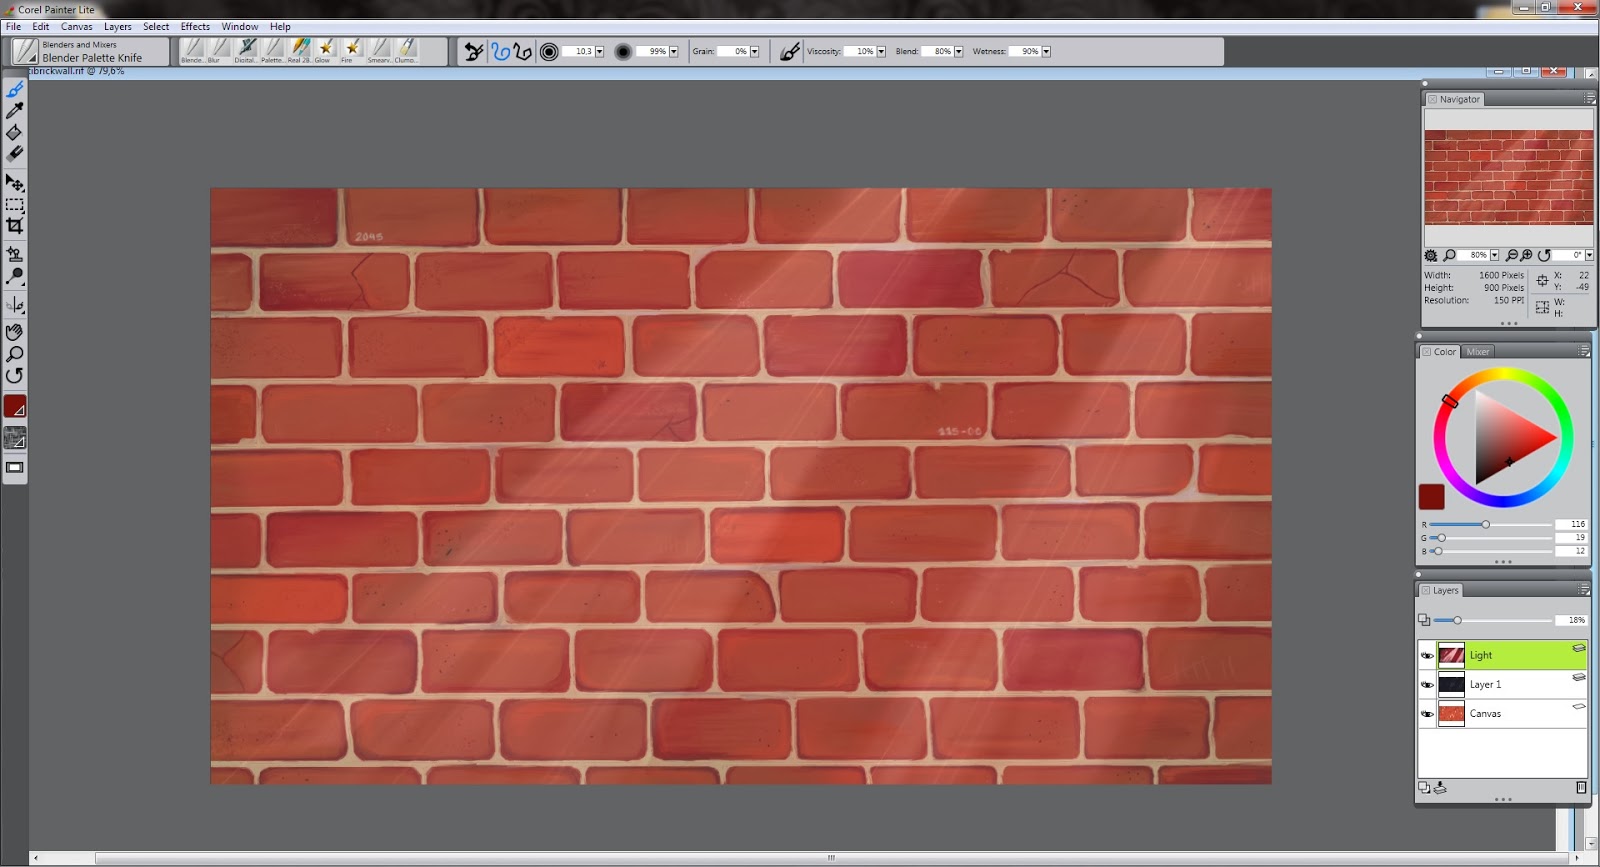
Yes, to business. Just to remind you of where I was left off last Sunday, here it is. The cat is still in need of a face and overall animation as well as the bird head and a background is still boring..


After contemplating on this for awhile, I felt as though it was a bit too light and popped out too much to be an 'old' totem pole. This inspired the decision to add a new layer and set the opacity of the layer to more or less half of the full setting and add some darkness to it with a Digital Soft Pressure Air Brush or a Digital Soft Flat Airbrush depending on the texture that is needed. To demonstrate, I'll just show you the looks of this layer just on it's own.


As you can see, I've only selected a few spots to add some darkness or in case of the bird's head, lightness. I wanted the totem pole to have a rugged and messy feel to it but I just can't seem to master the techniques quite yet to do so. Anyway, after doing this if I'd feel like it, I could set the opacity higher in order to intensify the colors I just set on top of the color and detail layer or lower the opacity in order to bring out more of the original colors which will also brighten up the object. Any case, I thought the opacity I set was suitable for me so I continued to add detail on the lower detail layer and started on my background with the Soft Airbrushes, which worked somehow out I guess. 
I also decided to add a little bird on top of the wing of the totem pole - supposing to portray a crow... I didn't want to detail the little bird too much on the wing or in the back too much so that they wouldn't take up too much attention from the actual object as with the sky - which consequently is kinda blurred up on purpose and by the discovery of the Pressure Airbrush.  


So, here is my final piece.. Sort of, if you can really call it that. One of the perks which I read of also is that with digital art, it is difficult to know when you really are finished with your piece, because you really don't want to overdo it. Even though in my opinion after merging all the layers I've been working on it does feel like it's completed and no more editing is needed or possible. To reflect on my now finished piece and looking at it staring at me on this page, I feel as though the totem pole doesn't feel 'woody' enough and to be honest, a bit too shiny I really don't know how I managed to pull that off... But, as usual, I lost the patience to discover how to do it after countless painting overs and all that comes with it. I do believe it does put out the idea that I was going for if not in a perfect manner. 


Now, just for fun, I'm gonna set up the picture of my previous canvas before digitizing for comparing and contrasting. Looks pretty different huh, even with the bad lighting that I've got going on there. I do remember being quite frustrated with this totem pole too, the colors weren't cooperating just like in the one above. I've definitely got to revise my color eye. I do have to say, the one on the right is a lot more flat than the one above which is kinda funny, you can also see how much more I can edit the one above as compared to the real life totem pole drawing has a lot of mistakes that can't really be fixed anymore concerning shape etc. I do have to admit that making the canvas was a lot more fun anyway than doing it on the computer, like it really felt like something had been accomplished and could be put on top of my bookcase and never look at it again until someone pulls it out. Ha, almost exactly what will happen to that picture up there. 


Now that the Totem Pole was just finished, I was left off at square one again. What to draw? What indeed... Probably needless to say, I contemplated for a while on numerous things like life, death, school and whatnot. Then I just had put on some cool and inspirational music like Bob Dylan or Edward Sharpe & The Magnetic Zeros (you should definitely check out this band if you don't already know it in which case I admire your musical taste - amazing stuff) to get me back into the groove. It did work and I thought I'd keep going on something that is pretty much familiar to me and going on the same track of building characters and getting them onto my computer and into my library of digital pictures. I dug through my various sketchbooks and found my old friend, the 'Robo Man' (he is lacking a better name for the moment) and I thought he would be perfect to draw into my library. 
I didn't get too far due to running out of time because I had to start on this blog right here on time. Anyway, I managed to sketch out the pose and face etc which is pretty good and productive for today which I can build on for the rest of the week when I get a free moment. 


I thought it would be pretty cool to attempt to form some kind of a metallic texture to Robo Man that was more difficult to achieve on the real life canvas due to a lack of shades of gray - ahem, not an excuse at all.. Anywhoozles, to wrap things up neatly, I'm starting to think that this will be a interesting project for me to tackle and I'm looking forward to showing ya's the results next week if all goes well.

Sunday, January 19, 2014

The Totem Pole

Post time again. 

It's really getting cold outside by now over here, it's around -15 to -20 degrees Celsius and needless to say, almost too cold to start any canvas painting on the balcony. So, I'm going to take a break from the canvas projects for a bit until I get the strength to fight the coldness and pursue a new project. This gives me a good opportunity to sit on my ass and learn to master the crafts of digital art! My trial version of the Painter Lite just expired and I still haven't ordered my Painter X3 or 12 yet, so I had to download the trial version of the Painter X3 (the newest version). You can see the interface below if you are interested.

I wasn't really sure what to draw yesterday, so I thought I would take something familiar and what I usually enjoy to draw on paper. So I ended up with a totem pole which seemed to be a good choice at the time. A great thing about the Painter X3 is that it has all types of pencils (2H, 2B, 6B etc.) which is great for sketching and doodling before actually beginning your 'painting'. The Painter Lite did not have this - well, it did, but it was quite annoying to draw with meaning that it wasn't meant for actual sketching - which I didn't particularly value. Also, the real deal Painter has the lasso tool, the magic wand and a massive amount of choice in brushes (I don't find that as necessary, I usually just stick with a few key brushes like the Digital Airbrush or the Acrylics). Anyway, this is what I came up with with a quick sketch and with the beginning of coloring. 

I used my old totem pole as an example, just to see how well I could imitate it digitally taking a few liberties here and there. With the sketch I used the 2B Pencil, which worked out great for sketching and I managed to get nice fine lines which I couldn't find on the Painter Lite. I also darkened my background 'paper' color to a light grey, its just easier on the eyes.


After sketching my figure, I added a new layer and called it 'color' and began blocking in my colors and filling in the finer aspects with an Opaque Detail Brush under the Acrylics section. Also, another cool thing in X3 is that you can choose different qualities for you layer, for example, I used a gel layer which showed me the outlines of my pencil sketch (as you can see on the picture above) which turned out to be pretty useful after all. 

 Even though I had started on my colors and found a general form for my eagle, I still wasn't too satisfied with the look of the whole thing, so I added a new layer again and started modifying the shape of the blocks and what I came up with was quite different from the original. 


Here, I've started on my slightly finer details and beginning to find the form and shade I'm looking for in my totem pole.  I decided to get rid of the cat's face for now and find a new look for it that wouldn't be as cat-like and more native or something like that.. More simplistic and not 'anime' type, you know. I'm still contemplating on the whole idea, I never did get too satisfied with the coloring of my totem poles... But I'm working on it. 

Another thing I thought was cool when I wen't to hide my 'color' layer for one reason or another and I came across this here. 


I don't know why, but I found this picture or.. whatever it is, pretty cool and interesting. I hadn't even known it myself but there it was. I particularly liked the wing, don't know why. Anyway I thought I would share it since those are the little things that give you ideas to greater things. Experimenting is key to success...right?

Alright, unfortunately after this I got a bit sidetracked due to the Australian Open going on right now and you know, all that other stuff so I ended up procrastinating and not achieving much. However, I did kinda finish the other wing and added some depth to the 'torso'. Just to demonstrate where I was left off I'll add a picture below for you to see. Sadly, it's too late for me to delay my post so I won't be able to show you the final outcome. I still have the background and detail left... Check it out next week though!

Here we go. I'm too frightened to add the eyes because I can't seem to get them right by any chance. I will get there, I will... If you notice up there in the left  corner you can see that I am using the Blender Palette Knife to mix the colors together to achieve a more smooth look.

Anyway, that's all for now, get back to work.

Sunday, January 12, 2014

Bob's Touch

Sunday again...

This passing week was the 'get back to school' week, so I'm running short of time again and haven't been able to do too much artsy stuff. Actually, not that I've been studying TOO much anyway but I have been pursuing my long lost wish that is finally coming true. I am getting a passport about six months earlier than I should have so I am leaving by the summer to reunite with my family in the United States, which I find pretty damn awesome. So from now on I will be quite busy with plans and school unfortunately, but of course I will make some time for art, I just have to. Anyway, during some boring skips in between lessons during school, I began drawing a quick sketch on a side profile of Bob Dylan and well.. It just kind of escalated from there and ended up with this drawing shown below. 


I would love to show you the real picture, but unfortunately I can't find it on the image search because I had used one of my old pictures on the phone as a reference to draw. I haven't really enjoyed drawing with graphite pencils before, but this time it was more effortless and I have no clue what so ever why that is. This is in my sketchbook which is A4 sized, I should have drawn it on a bigger surface but it is difficult to bring something big like that to school and drag it around for 8 hours. This took me about 3-4 hours to draw, which isn't too bad I guess considering how much time these things usually take me. I have been known to work on one 'realistic' charcoal or graphite drawing non-stop for about a week, and then just trashing it because it just wasn't going to work out. However, I did find the hair very difficult to do... I procrastinated it 'till the last minute and still I was reluctant to begin. I did manage to start, but way later when I got home and I worked on that damn hair for at least two hours straight. 

Anywhoozles, to continue last weeks project on the Painter Lite. This is where I was left off just to jog your memory, if you feel like you need more memory jogging, feel free to go and click the previous post and get yourself up to speed. 


So, the next job after this was to get the coloring in place. I was playing around with quite a few colors only because of the sheer enormity of choice, I've got to tell you, it wasn't easy. Well, after awhile I did manage to choose colors of metallic grey, a minty green and a nice warm blue color. After coloring my work in I did feel as though my letters weren't really matching but me being lazy I just decided to go with the flow and forget about it for now.
 If you check out the Layers section on the picture above, on the lower right corner, you can see how many layers I got going on for me and the oddest thing I found out was that it was actually slowing down my computer.. My brush strokes started to have a lag and froze most of the time and as I was getting more and more frustrated about it thinking that there was something wrong with the wireless connection on my tablet or that my computer was just running out of space. Well, after plugging in my tablet  to  my computer and cursing the machine and the software, I just decided to finish the picture, merge the layers together  and then just be done with it for good. Well, of course after I finished merging the layers the whole program worked like a dream and I was sitting there like a complete idiot. Computers and software are just not my thing obviously.. Oh well, a lesson learnt there. 
Anyway, here is the just about finished picture  in all its simplicity. 


 You can see how the shadings on the letters are quite simplistic and I haven't done any tricks with the coloring but I figured this will just be a testing experience and maybe I still need a bit more practice with simpler drawing before starting on with something like graffiti and the street style that I usually do. It doesn't look anything like I had envisioned in my head but I do think it taught me something....Maybe. 

That's all for now, tune in next week for more. 

Sunday, January 5, 2014

First of 2014

Hey y'all, 

Another year come and gone and another year to make new promises and improvements to yourself and others that usually turn out to be in vain. Ha ha. Anyways, I've been busy learning how to utilize the Painter software and reading up on my books on digital art. Too bad that most of them just talk about using Photoshop to apply some different filter like it's something too difficult to do for the average Joe. In my opinion, making your photograph look like a painting by slapping on some "magic wand" brush strokes is just another form of cheating and then calling yourself "artistic".. But that is just my opinion of course and I'm not the one speaking of experience, which actually brings me to a great line by a band called the Avett Brothers. It goes something like this; "Ain't it like most people, I'm no different, we love to talk on things we don't know about ". So that's that then, you make your own opinions on things.

Alright, time for business. During the last week I was still just getting used to all the different brushes and effects that Painter contains, so I decided to just begin with a simple idea: I started off by just drawing a tree and building it up adding shadows around as I went.

On this picture I think I used the basic bristle oils to achieve a painterly look and I used a palette blender knife to blend the colors together. At this point I'm still not too comfortable with the graphics tablet and the whole setup so the picture doesn't look to great or at least the composition is seriously off. After doing this I actually did get a better feel and started to feel more used to the whole concept and maybe soon I could even start doing some graffiti and other works more in my comfort zone. Even though, let it be known, getting out of your comfort zone is not a bad thing at all. I try my best to get out of it.

Thus, after ahem.. "finishing" the tree and the sketchy background, I thought I could finally start on something that I've never had the colors for on the real canvases (mainly because I'm too lazy to go into the city and buy spray paints), so this was actually a great opportunity to do it: a brick wall. It was a good experience just to focus on small details for a day or two and get my brain used to the fact that I'm drawing virtually and you know, getting the whole moving around issue together and tilting the picture to get straight lines etc. Also, me being too intimidated to start anything real quite yet, I stretched the brick wall project out as far as I could trying to think what I will put on it that has some good taste. The details and colors were fairly difficult and getting the brushes to behave like they do on my regular canvases. 

And after about two days of work, this is the outcome. Not too detailed but enough to get the picture. Anyway, it is the background and shouldn't draw too much attention from the actual piece.

After finishing the ground work on the piece, I felt as though it needed a certain 'notorious' feeling, so I added a layer of black on top of the brick wall with a capacity of 16% just to darken the picture a hint. After doing this I got a great idea that maybe the picture should have a few light spells that would highlight the graffiti that was to come and give another dimension to the picture, another thing I would never be able to do on my regular pieces on canvas. This layer I had on opacity of 18%, basically just going by feel not consistent numbers. I also added in some red in with the 'light' layer to add some character. 

Even though I had just added a layer of darkness and a few light spells, I still didn't feel like it did the trick and the picture still didn't feel quite enough notorious. So, I just duplicated the layer and added some lighter lines on to the spells so that the would pop up and seem more realistic as opposed to the previous one. 


 Now that is more like it! I can feel the darkness and haze falling upon the brick wall and the light spells giving some dimension to the picture as a whole. 

After being satisfied with the outcome of the background, I opened a new sheet and started planning my graffiti that I'll implement onto the brick wall and the outcome was something like this. I still find it difficult to draw with the pencils, because of the tilt function on the pen which easily makes the marks too fat and in order to keep the tip small, you have to keep the pen at a 90 degree angle. This I find quite challenging, but I guess you get used to it or then I will just have to find some other brush to work with. In order to make the drawing process on a white sheet easier on the eyes, I set the color of the paper to a light shade of grey. It helps a lot, especially if you are working on it for long periods of time.. 


 Being finished with my original sketch, I had to get this on my brick wall and start drawing the outlines. This is where I ran into complications and wasted a lot of my time trying to figure it out. Turns out that after outlining our graffiti onto the background, there is no way to re-size it. I needed this because I had made my graffiti too small for my taste and I wanted to enlarge it just by a little bit and I could not find a way to do this. Oh well, after about 2 hours I managed to get my outline onto the picture, and below is the outcome.

 And here we go, this is the point that I am at now ready to start with my color scheme. Not too much trouble, but enough to make me frustrated enough to lay off of the project for a while. 

Tune in next week for the final results...